How-to
How to season a carbon steel pan
Published
Short answer
Remove the factory protective coating first, following the maker's instructions. Dry the pan, then wipe on a very thin layer of a high smoke point oil, buff off as much as you can, and heat the pan until it smokes and the oil turns into a hard, dark film. Repeat three to six times on the stovetop or in the oven. Thin coats are the key: thick oil turns sticky and flakes.
Cookware for this job
All 6 picks compared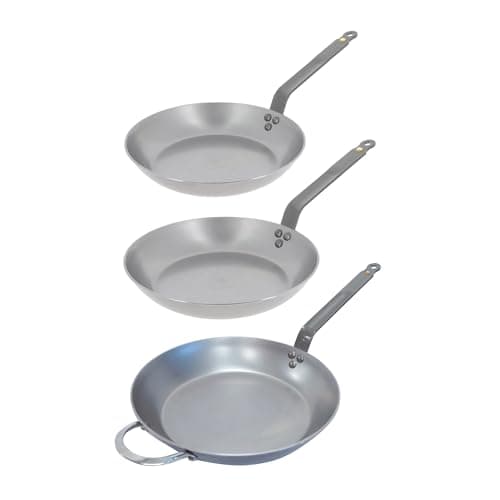
de Buyer Mineral B 3-Pan Set: 8, 10.25 and 12.5 in
See price on AmazonSee it on Amazon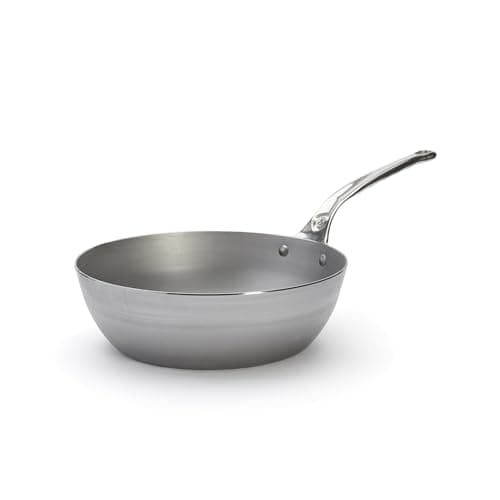
de Buyer Mineral B Pro Country Pan 11 in: high sides
See price on AmazonSee it on Amazon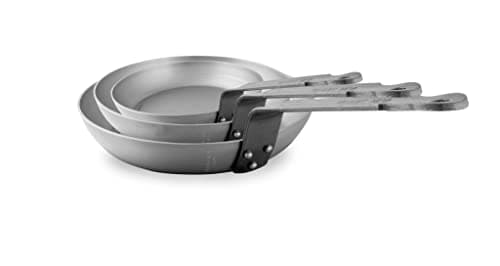
Mauviel M'Steel 3-Piece Set: 7.9, 9.4 and 11 in
See price on AmazonSee it on Amazon
Carbon steel pans, from de Buyer, Made In, Matfer and others, are light, fast heating and close to nonstick once seasoned. Out of the box they are bare or coated with a protective layer that has to come off. This page is for new owners and anyone whose pan has gone patchy, rusty or sticky. It covers removing the factory coating, choosing an oil, seasoning on the stovetop and in the oven, how blue carbon steel differs, and how to reseason when things go wrong.
What seasoning is
Seasoning is a thin layer of oil that has been heated past its smoke point until it polymerizes, turning from a liquid into a hard, slick, dark film bonded to the steel. Each thin layer adds to the last. A good seasoning protects the pan from rust and helps food release.
The most common mistake is too much oil. A thick layer does not fully polymerize. It stays tacky, collects dust and grime, and eventually flakes off in patches. Many very thin coats beat a few thick ones every time. Expect the pan to look uneven, with brown and black patches, for the first weeks of use. That is normal.
Step 1: Remove the factory coating
Most carbon steel pans ship with a protective coating to stop rust in the box. Some makers use a food safe wax, for example beeswax on de Buyer Mineral B pans, and others use oil or a lacquer. The method to remove it differs by maker, so read the instructions that came with the pan or check the maker's care page.
Common methods include scrubbing with very hot water and dish soap, or boiling water in the pan and then scrubbing. Some coatings need to be heated off. A few pans come pre-seasoned and need only a rinse. Once the coating is gone, dry the pan immediately and place it on a burner for a minute to drive off any remaining water.
Note.Check the handle before putting a pan in the oven. de Buyer rates the epoxy coated handle on Mineral B pans to 400°F for less than 10 minutes. Use the stovetop method for pans with coated, wooden or silicone handles.
Choosing an oil
Use a neutral oil with a fairly high smoke point. Canola, vegetable, grapeseed, sunflower and shortening are common choices, and some makers sell their own seasoning wax or recommend a specific oil. The type of oil matters less than how thin you apply it. Avoid butter and unrefined oils with low smoke points, which burn and leave soft residue.
Flaxseed oil is sometimes recommended because it forms a very hard film, but many cooks find it more prone to flaking. If you use it, keep the layers extremely thin.
Step 2: Season on the stovetop
On a small burner the center darkens first and the edges lag. Tilt and move the pan so the sides and edges get heat too. On induction, the pan heats only where it sits on the coil, so it takes longer to color the sides. For pan types that work on induction, see what cookware works on induction.
- 1
Heat the clean, dry pan on medium for a few minutes.
- 2
Turn off the heat or move it away, and add about half a teaspoon of oil.
- 3
Spread the oil over the whole inside with a folded paper towel held in tongs. Include the sides.
- 4
Wipe it off again with a clean towel, as if you made a mistake. Only a sheen should remain.
- 5
Return the pan to medium-high heat and let it smoke. Keep heating until the smoking stops and the surface darkens.
- 6
Let it cool slightly and repeat. Three to six rounds give a good starting base.
- 7
Ventilate well. Turn on the hood and open a window, because the oil will smoke.
Step 3: Season in the oven (all-metal handles only)
The oven method gives a more even coat on the sides and outside. It only works on pans with all-metal handles, and only if the oven is well ventilated. If your pan has a coated handle, stay with the stovetop.
- 1
Preheat the oven to a temperature above the smoke point of your oil. Many guides use 450 to 500°F.
- 2
Warm the pan briefly, then rub on a very thin layer of oil inside and out, including the handle.
- 3
Wipe it all off with a clean cloth until the surface looks almost dry.
- 4
Place the pan upside down in the oven with a sheet pan or foil on the rack below to catch drips.
- 5
Bake for about an hour, then turn off the oven and let the pan cool inside.
- 6
Repeat two or three times for a more even, durable base.
Blue carbon steel and pre-seasoned pans
Blue carbon steel has been heat treated at the factory to form a thin blue-black oxide layer. That layer gives some rust protection and a head start, but it is not the same as seasoning. Season it the same way, with thin coats of oil and heat. The blue color will darken to brown and black as seasoning builds.
Pre-seasoned pans can go straight to cooking. A few extra rounds of seasoning still help, and cooking fatty food early on builds the layer faster.
How to reseason a carbon steel pan
Patchy seasoning is normal and fills in with cooking. If food sticks, cook something fatty like bacon or shallow fried potatoes for a few sessions. If the seasoning is flaking, sticky or rusty, scrub the bad patches with a scouring pad or steel wool until you reach smooth metal or firm seasoning, wash, dry on a burner, and start the seasoning steps again.
Rust spots are surface rust in most cases. Scrub them off, dry the pan on heat and add a thin coat of oil. For deeper rust, see our carbon steel pan rust page.
- Avoid long simmers of acidic food like tomato sauce or wine in a new pan. Acid strips young seasoning.
- Wash with hot water and a brush. A little soap is fine on established seasoning.
- Dry on a burner after every wash, then wipe on a whisper of oil.
- Never soak carbon steel or put it in the dishwasher.
Cooking to keep the seasoning
The best way to maintain seasoning is to cook with the pan often, especially searing, stir frying and shallow frying with plenty of oil in the early weeks. Eggs and fish come later, once the surface is slick. Our page on how to cook with a carbon steel pan covers heat levels and first recipes.
If you are still choosing a pan, the best carbon steel pan guide compares handle types and weights, and our carbon steel vs cast iron page explains how the two metals compare for weight and heat.
Frequently asked questions
How many times should I season a new carbon steel pan? Three to six thin rounds give a good base. Cooking with fat builds the rest over the first weeks.
Why is my carbon steel seasoning sticky? Too much oil was left on, or the heat was not high enough to polymerize it. Heat the pan until it smokes and use thinner coats next time.
Why did my seasoning turn patchy and brown? Patchy color is normal early on. It evens out with use. Flaking means the coats were too thick.
Can I use soap on carbon steel? A little dish soap is fine on established seasoning. Avoid soaking, harsh scrubbing and the dishwasher.
What you need for this
- See price on AmazonAmazon
de Buyer Mineral B 3-Pan Set: best carbon steel
 See price on AmazonAmazon
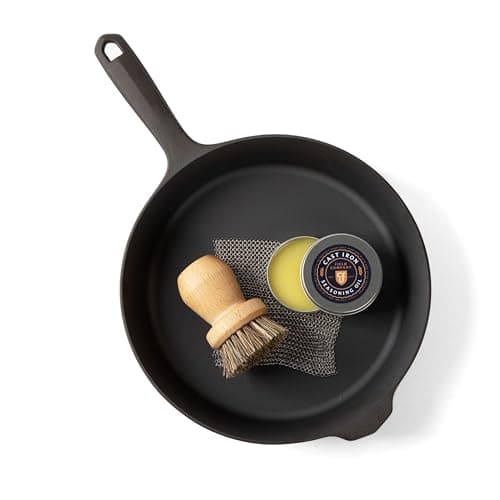
Field 10.25 in Starter Set: 4.3 lb with care kit
From Best premium cast iron skillets: machined and enameled picks
 See price on AmazonAmazon
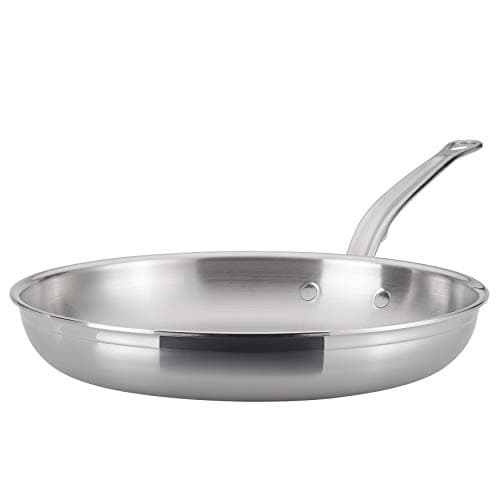
Hestan ProBond Forged 12.5 in: clad, dishwasher safe